Sunday, June 05, 2016

AppSmash - WeVideo and Google Slides


The new WeVideo IMPORT PDF feature combined and Google Slides are a great duo  for collaborative video creation!  


When it comes to collaboration, Google slides rule!  
When it comes to creating videos,  WeVideo rules!


Now  with the new IMPORT PDF feature of WeVideo, collaborating on a Video just got even better.


First of all let me describe the new Import PDF feature of WeVideo and why this has me so excited!


Usually when we add media assets to a video creation project,  we are adding photos, video clips, and sound clips!  


But recently WeVideo has made it possible to ADD PDF files as media to a video project.  When you select Upload Media and you select a PDF file, WeVideo automatically separates each page into a different image for you to drag and organize as you like into the timeline of your video!  Way cool!  


  1. Select Add Media      2. Select a PDF file


3.  Drag individual pages from your PDF from your MEDIA folder to your TIMELINE


So now you can take any tool that can save as a PDF and use it to create content for your Video projects!  (PowerPoint, Word,  Open Office,  Google Docs,  Google Slides)
This opens up lots of possibilities for Cover Pages, Transitions, Backgrounds for Green Screen, and even core content in your narrative.   (PowerPoint, Word,  Open Office,  Google Docs,  Google Slides)

When you are ready to import your content into WeVideo

Simply Use DOWNLOAD AS  and select PDF from the File Menu of your favorite tool!


Then Upload Media (ADD the PDF) to the Media Folder for your WeVideo Project.  


Each slide will appear as a separate media asset that you can drag onto the timeline.


Once these are added to the Media folder of a project,  only ONE of the collaborators can work on the video at a time!    Since the bulk of most video project is planning,  storyboarding,  locating or creating media assets, using Google slides is a great way to keep all members involved in many steps of the video creating  process. The whole team stays actively involved for much longer.  


If you choose Google Slides as your content creation tool for your video,  your team can
  • work together to  create beautiful content for a digital story or  narrative slideshow
  • organize the content  in any order they  want
  • revise and reorder them as they work
  • use comments to discuss and plan throughout the process
  • use the NOTES section of Google slides to plan narration or storyboard
  • add placeholder slides for where video clips  or effects might appear in the projects

Illustration of a pencilOnce the media assets are imported into the Video project,  your team can continue to collaborate using the collaborative features of WeVIdeo EDU, but remember that the at this point in the process, the   collaboration happens ASYNCHRONOUSLY!  Which means only one team member  can EDIT the video at a time.  Similarly to the way Wikis or Google Sites works, the first person to start editting gains control of the video, and others editors are locked out until the collaborator is finishes, and leaves the project.   As soon as the editor saves their edit and closes the video project, the video is available for the next person to edit.  How I describe it to others is that  “Only one person can hold the pencil at a time.  You need to let go of the pencil to pass it on to someone else to edit”.


But as with any Group project,  the rest of the team can be working on finding music or sound effects,  creating credits and title slides (in Google Slides).    Or perhaps, you might break up your projects in sections  and create more than one Google Slide Show.  After each section is complete,  you can provide different team members with the job of adding that section to the video project and editting the video project, while the rest of the students continue to work on the the next section of the project in Google Slides.
One more collaboration tip:  For each video project, consider setting up a Google Folder where you can store your Google Slides along with any images, photos, and music that you might want to add to your video projects.  (Even though only one person can add to the actual video project at a time,  ALL members of the team can add images, video clips photos, and music to a Google folder synchronously -- and they can even do this from their phones using the Google Drive app!


Meanwhile the ONE person who is actually editing the video project from inside we Video can simply IMPORT the new media assets into WeVideo using the IMPORT from Google DRIVE feature of WeVideo!  


I would love to see your video projects and hear how using Google Tools with WeVideo helps your team collaborate on video projects!  


Thursday, June 02, 2016

And the Winner Is....

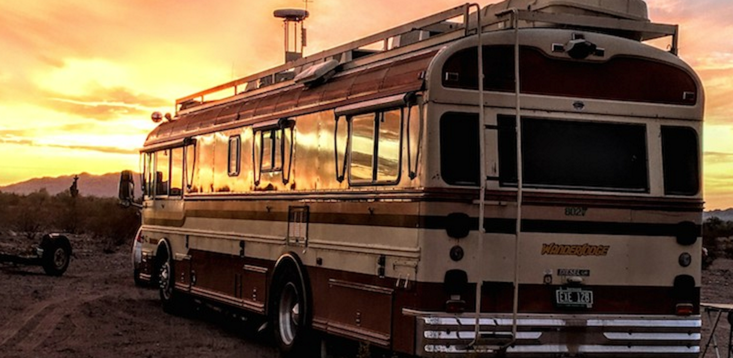
As many of you know, I do a lot of my work remotely from our 1983 vintage Bluebird bus.  There are advantages to that like having the view from my office change from the ocean in San Diego one week to the Arizona desert in the following week.

However one of the downfalls is that you miss out on  some of the energy that face to face interactions bring to an event.  Whether I’m teaching an online class or working on a committee remotely,   I’m constantly looking for ways to  bridge the miles, keep learning personal, and bring the human energy found in face to face interactions to my work.


Recently I was sitting alone in my office getting ready to make good on a promise to give out some  prizes for a contest where students and teachers shared  links to videos and other multimedia projects that might inspire others to create videos in their teaching and learning  environments. 

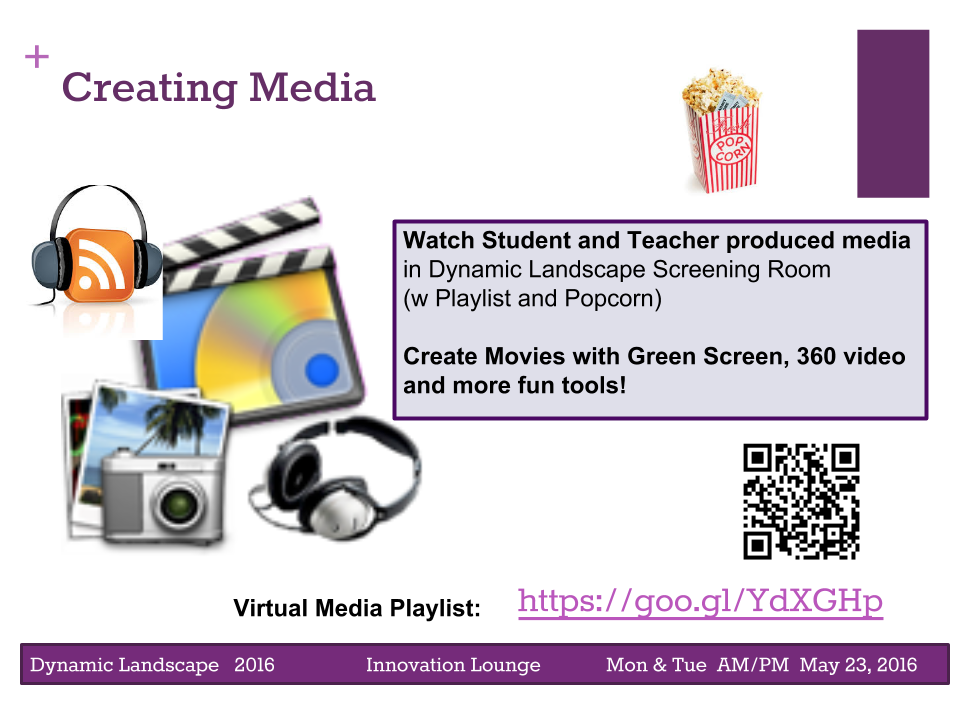
I was so excited by the outcome -  we collected 100 videos and made them available in a screening room  (popcorn and all) in the Innovation Lounge of  Vermont’s  spring educational technology conference - Dynamic Learning.  And the best part is that this collection could now be shared anytime - anywhere  to inspire others.  Why not grab some popcorn and watch a few flicks yourself.


How I wish everyone who submitted could be in the room with me as I expressed my gratitude to them for their hard work completing the projects, but also taking the time to share it!  The face to face thank you followed by a high energy random drawing of the prizes would have been ideal.  And suddenly I had an idea!  What if we could use video  to capture some of the excitement of a face to face random drawing!


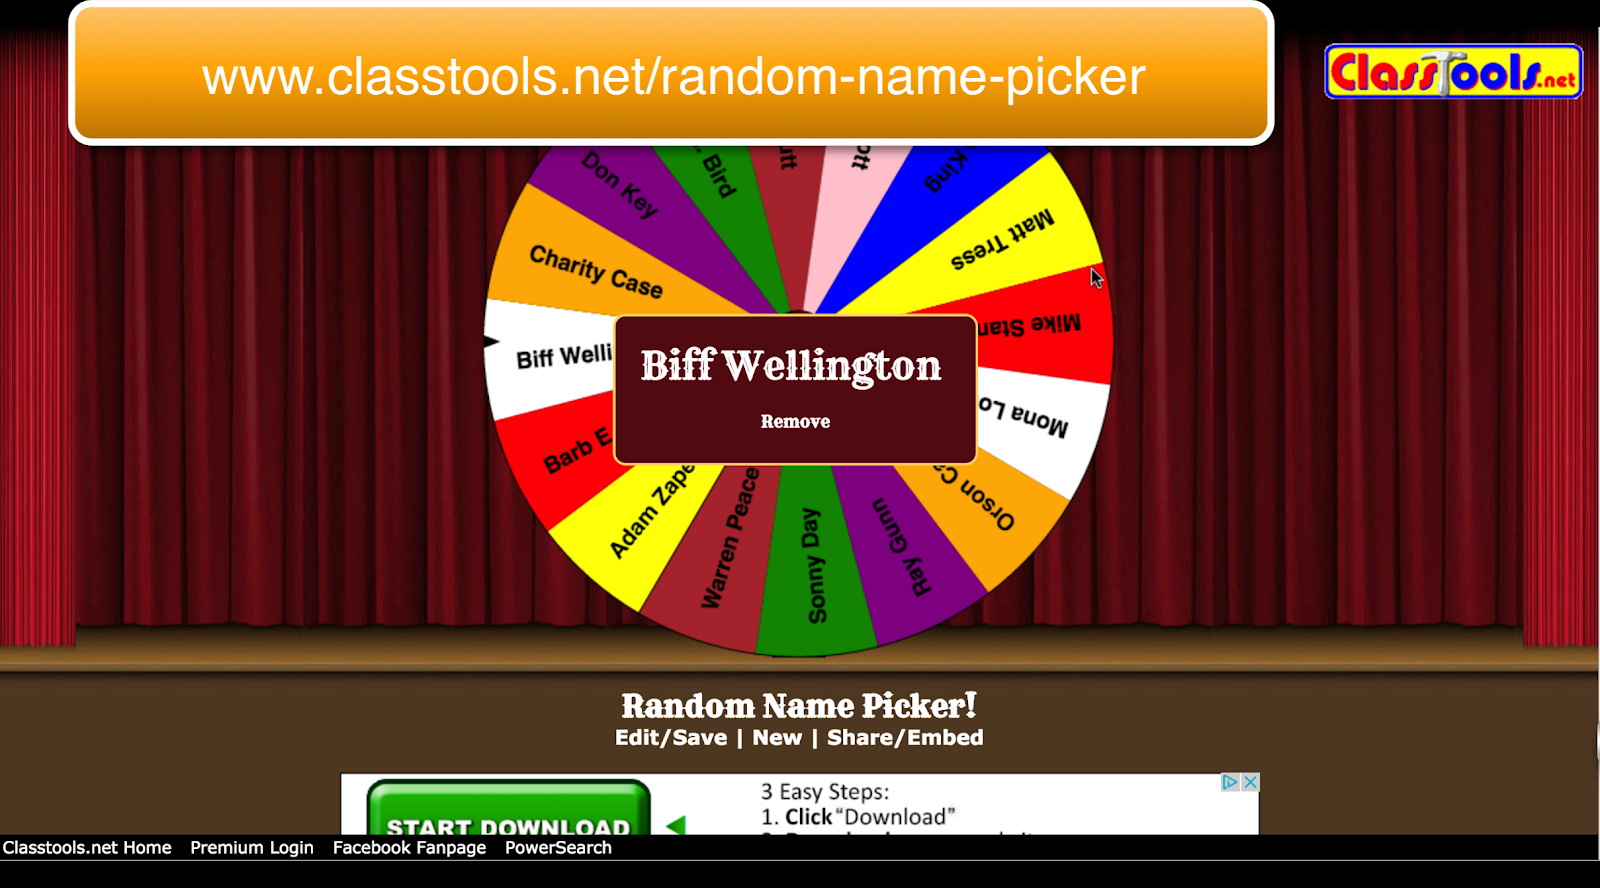
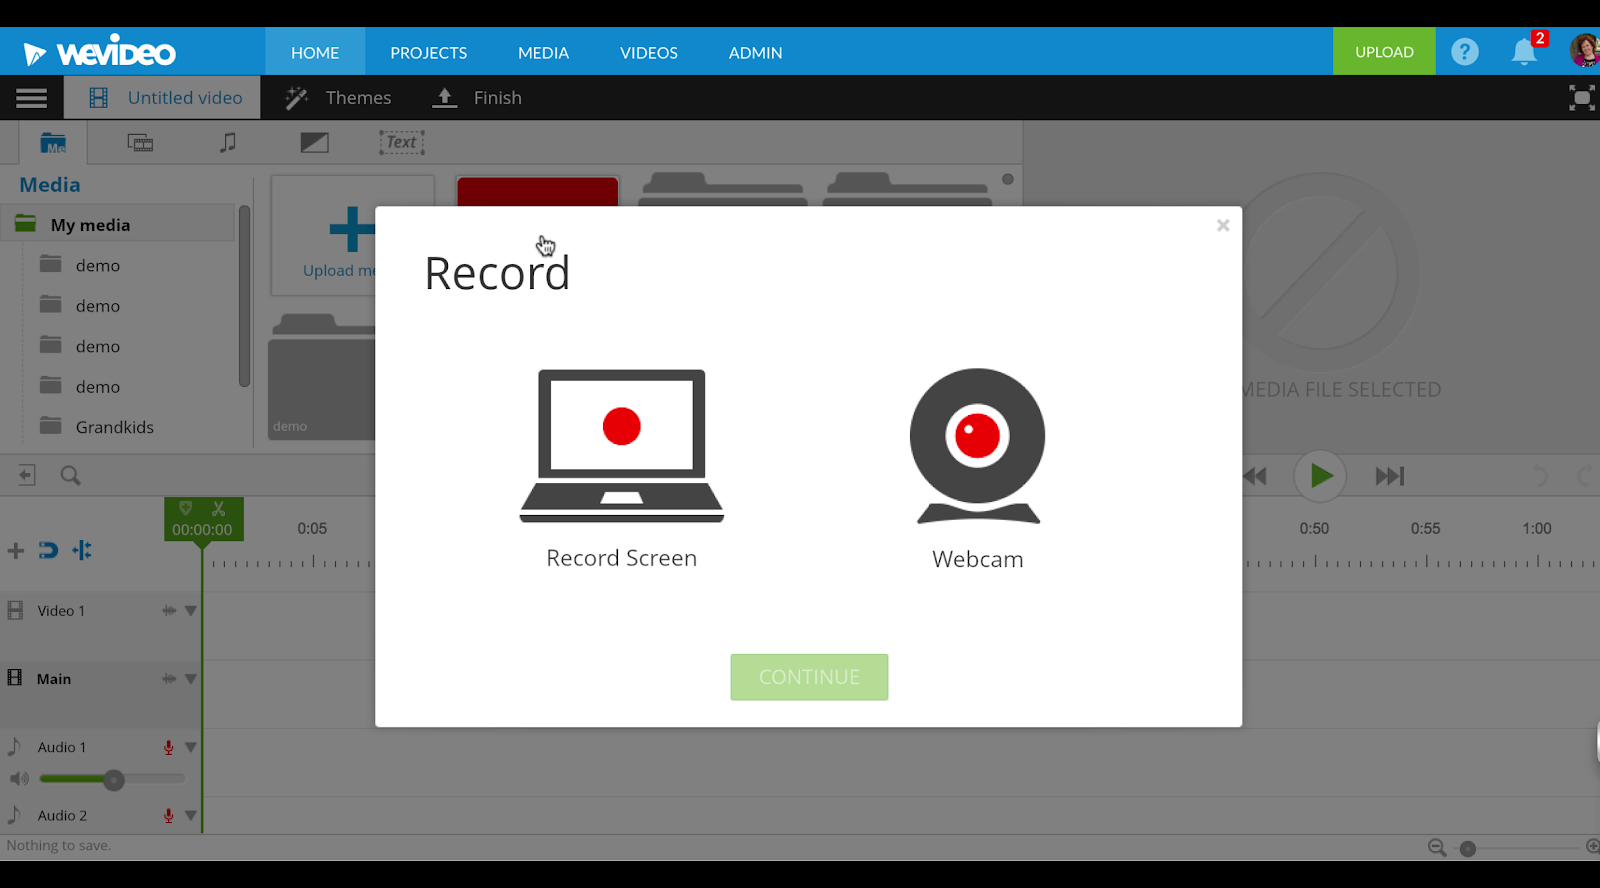
Within minutes I had found a fun random name picker  from Class Tools  and was using WeVideo’s screenrecording  tool to record the selection of 3 winners.

It might not be quite the same as being there face to face, but it was definitely more fun for me to select the winners and hopefully more fun for teachers and students to watch the spinningwheel than to get a quick 20 second email that list 3 winners.  At least for a few minutes..they could feel the excitement  of not knowing if “THEY”  would be the winner.


Instead of a text based thank you note with a list of 3 winners, 
 here is what our participants received.


Yes there are lots of screen recording tools that can be used,  but the multitrack timeline mode of WeVideo allowed me to add some fun transitions,  some text based graphics, and  some suspenseful music from the WeVideo library.  Here’s a screencast of my process that might be helpful for those of you who are new to WeVideo.


(Disclosure:  This Screencast was not created with WeVideo since I had to
capture WeVideo screen capture features to create the tutorial) 


I love thinking of new ways to leverage today’s technology to support teaching and learning. I would consider this application to the at the AUGMENTATION level on the SAMR model. Hope this little tip might be helpful to those of you in a blended learning environment.


Sunday, May 01, 2016

Permission to Fail at #Picademy

This weekend,  the second cadre of #PICADEMY USA participants is getting introduced to the the wonderful pedagogical practices of the Raspberry Pi Foundation. Watching the #Picademy hashtag on Twitter throughout the weekend, brought back memories of my experience in Mountain View just a few months ago at the first Picademy USA.  


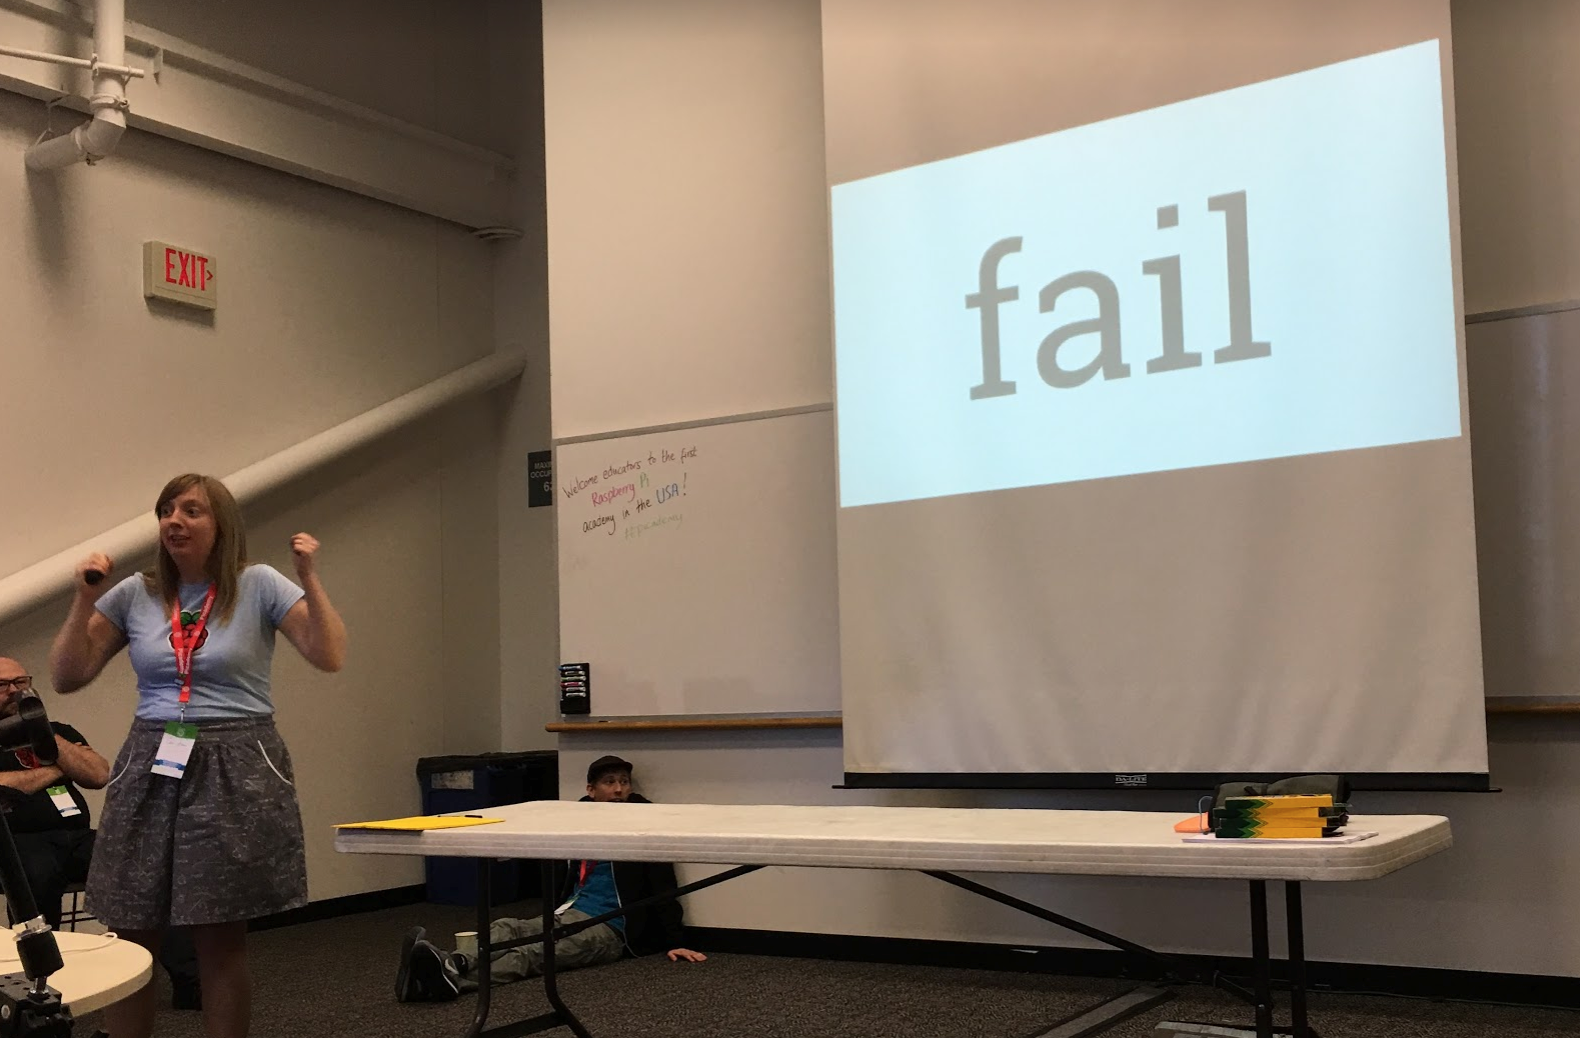
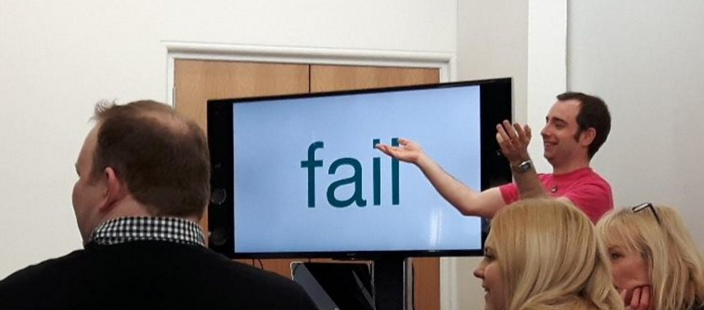
When I think back about that weekend for me,  I vividly remember Carrie Anne Philbin unveiling the weekend agenda.  


Describing that this weekend we were going to FAIL


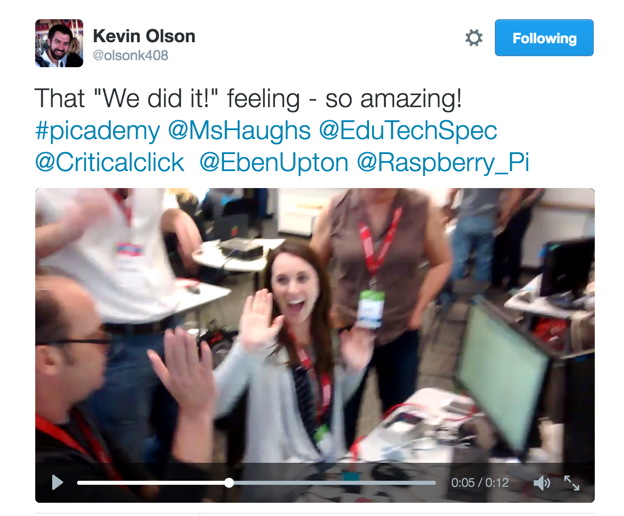
However, not long after, the talented crew brought us into a room where they quickly led us to amazing feeling that comes with SUCCESS! I see the same feeling of success emerging from this weekends #Picademy tweets.


https://twitter.com/Raspberry_Pi/status/726508676001878016

When I described PICADEMY to others, I found myself describing how the team had shortened the distance between taking the Pi out of the box and experiencing the joy of success.


Everything was setup to make that journey as short as possible.


Monitors, keyboard, mice, and SD cards had all been strategically prepared so that you could just plug in your PI  and within minutes  experience the joy of success. I see this same exhilaration from this weekend's tweets from #Picademy.


https://twitter.com/Raspberry_Pi/status/726508676001878016

Having equipped us with the joy of scoring some quick wins, we were prime and ready to move on to deeper learning.  I can see from today’s tweets that this new cadre is experiencing the best part of #Picademy -  the effective and sound pedagogy masterfully implemented by the Raspberry Picademy team.


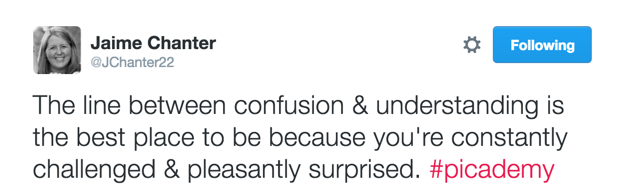
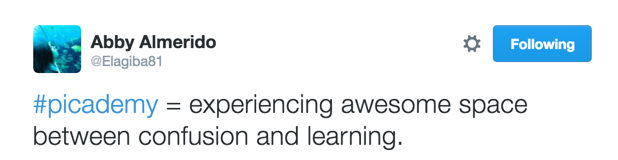
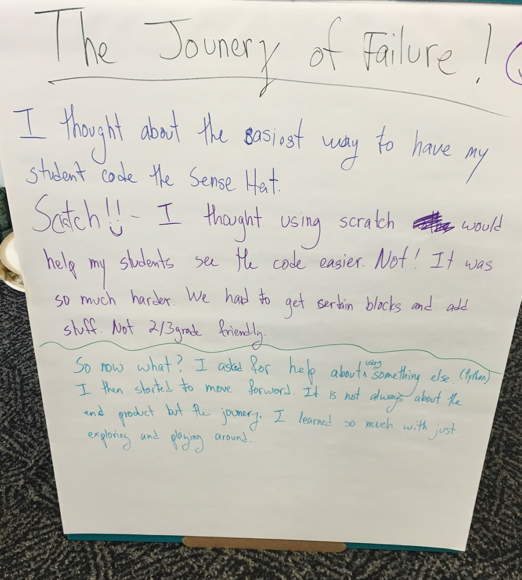
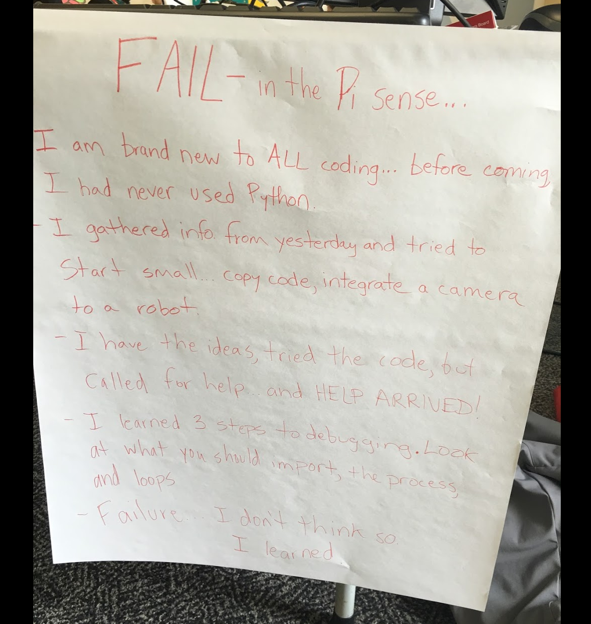
But equally important in the conditions that were set up for the day  was setting the expectations that along with joy of success,  we were also going to FAIL

But we were going to fail in a safe environment -- an environment of trust -- a trust that we would be surrounded by what we needed to get back up again after the fall.   Throughout the whole experience, we were surrounded by the expertise of one of the Picademy team  or our Picademy colleagues to help us move past obstacles that came along our learning path and build on the learning from each iteration.  


I remember the feeling I had during the Picademy Camera workshop when my computer stopped responding as it should.  I could no longer keep up with the hands on part of the workshop since my PI simply was not reacting like everyone else’s Pi.  A team member was quickly there to help troubleshoot.  We replaced several different components, none of which seemed to rectify the situation.  Finally Ben brought me a new configured SD card and Voila, I was back up and running again and some great troubleshooting skills along the way.


The importance of being able to quickly recover from a Fall / FAIL  is important in gaining the confidence you need to take risk.  


Obviously the conditions that we had at Picademy (being surrounded by amazing mentors and peers)  to help us recover was not going to be part of our face to face reality when we would return home and start playing with our new Raspberry Pi on our own.


But there are a few ways that we can create ‘some’ of those conditions for ourselves.


  1. Become engaged in the Raspberry Pi community online.  

    The Raspberry Pi Forums provide an excellent resource for both new and seasoned Raspberry Pi enthusiast to get helpful advice from.  

    Following each other on Twitter also provides us with access to peers to share our successes with and mentors to reach out to when we need help.

    And as an added bonus,  as Raspberry Pi Certified Educators, we are lucky enough to be part of an additional online community that can provide us with an an additional level of peer support.
  2. Learn to create a backup copy of your Raspberry Pi SD card.

    Recently I was working on a PI project that I hoped to have ready for the 2nd Birthday Bash of our local Makerspace. As the deadline came closer, I found myself less willing to take risk with the project for fear that I would “undo”  the progress I had made thus far.  I should have just stopped and learned how to create a backup of my SD card.  But with little time to spare, I just kept moving forward on the project -- but with much more caution than I wanted to feel -- for fear that I might FAIL  (right before the big Bash) leaving me with nothing to show.   

    I have since rectified that and used these directions to familiarize myself with the process of creating a couple spare Raspberry Pi SD cards, and I now feel more confident to experiment  and also will easily be able to create a new backup SD Card during those ‘scary’ moments when I’m about to try something that’s unfamiliar or may feel ‘risky’
    https://thepihut.com/blogs/raspberry-pi-tutorials/17789160-backing-up-and-restoring-your-raspberry-pis-sd-card
  3. Create easy access to a working PI setup  Find a setup where you can easily grab your Pi  and start playing anytime the spirit hits you --  similar to the classroom’s at Picademy where keyboard, mouse, and monitors were all setup to shortening the journey to success.    For me, creating this condition was to learn to SSH and Remote Desktop into my Pi from my laptop.   Since I live in a very small space (a 1983 vintage bus) and and am so mobile,  an extra monitor and keyboard were not an option.  Once I learned how to Remote into my Pi from my computer,  I found myself bringing my PI with me, and playing with it anywhere,  anytime I had time and inspiration to play.
I’ve decided to share my journey to learning to clone my SD Card as well as to access my PI from my laptop and my Chromebook in the next few blog post. But this post has gotten long enough already and I think I’ll spend the rest of the weekend keeping an eye on Twitter for what I’m sure will be an exciting day of projects created by the creative educators on their last day of Picademy.

I  suspect that the day will end similarly to our final  day at the Mountain View Picademy day  with lots of celebrations of failures,  many iterations of successes, and some very fun prototypes.  But most of us it will left us inspired and equipped to keep on making!  


 Part 1 ,  Part 2 , and  Part 3 of my blog post series from the first #Picademy USA in MountainView this past weekend - including this Video Summary.


Sunday, April 10, 2016

Personalized Learning Plan Skills Template

During my morning routine this morning, which includes looking through some of my favorite blogs,  I got inspired  by Bill Ferriters blog post in The Tempered Radical called "New Feedback Activity:  Not Yet/YouBet Lists"


Bill writes ..."So I’m tinkering with a new idea that I’m calling Not Yet/You Bet Lists.
Like the Unit Overview Sheets that I’ve written extensively about on the Radical (see herehere and here), Not Yet/You Bet Listsare designed to give students opportunities to track the essential content and skills that they are working to master.  But because they are simple tools, students – whether they are baseball players, gymnasts, pianists or martial artists – can use Not Yet/You Bet Lists to detail the progress that they are making in areas of personal interest and passion outside of school.
My mind immediately started to modify one of  Google Sheets  templates into a new version which could be used in student's personal learning plan using Bill's  Not Yet/YouBet Lists concept.


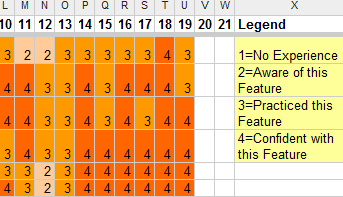
In my original  Template  students/participants each are privately assigned a number and fill out their skill level 'before" and after a course, workshop, summer camp, etc. by entering a value 1-4 in their assigned column.  The template uses Conditional Formatting to paint colorful displays of skill growth.  I copy the sheet from the first day unto a new tab in the sheet for later reference. The students update the first sheet throughout the course or at the end of a workshop.  


Here is an Example from  one of my Google Trainings.  This works as a pre-assessment and also for portraying the learning that happened to the class as a whole.

But Bill's  post in "New Feedback Activity:  Not Yet/YouBet Lists"  had me thinking about how I could modify the template so that it could be used for more self-directed student goal setting that might be used in a student's personal learning plan or even  embedded in a student portfolio.

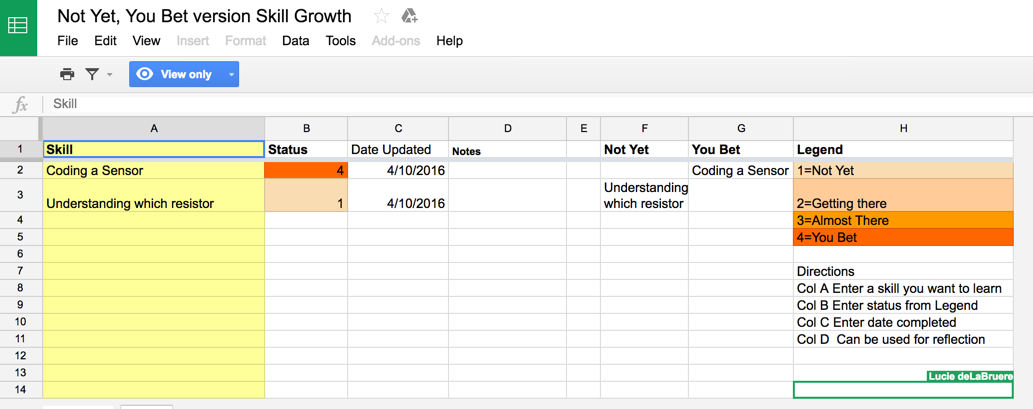
Here is what I came up with for a new template to use Google sheets for creating a Not Yet/YouBet List.


In this template students put their skills in Column A, and enter a number 1-4 in Column B that corresponds with their current skill level.  I choose to use 4 skill levels, but this could be easily changed to include Bill's 2 (Not Yet/ You Bet). 

I added a date field and a Notes field.  The Notes could be used to describe how you learned the process, or include a short reflection, or even a link to longer reflection and an artifact of learning.   Column E is just a spacer.   Column F and G  use an If then statement to automatically move the Skill into either the NOT YET Column or the You Bet Column based on the current status. 

I also added a second tab to the sheet called the NotYet/YouBet List  that simply pulls out just those columns in case a students wants to embed only the second sheet in their portfolio. 

Now my thoughts are on how a teacher might easily assign this spreadsheet to all his/her students using Google Classroom  and the students could easily embed the whole sheet or only parts of it in a portfolio that uses Google Sites.   Inspired by the many ways that Alice Keeler has shared to help teachers make the most of Google Classroom and by the focus in Vermont schools on Personalized Learning Plans  (PLP) where many students are using Google Sites as their PLP portfolio,  I'm on a quest to discover how to leverage the management features of Google Classroom in ways that sets students up for success in creating eportfolios of their Personalized Learning journey. 

I think this could work! Thanks Bill Ferriter for the inspiration.  I'd love to hear back if anyone tries this or has a different idea for meeting this goal. 


Wednesday, March 02, 2016

Picademy USA Part 3 - Day 2


This is  Part 3 of a blog post series from the first #Picademy USA in MountainView this past weekend - including this Video Summary.

You can also check out Part 1 and Part 2 


#Picademy USA Day 2

Several  of us managed to get a drive by glimpse of GooglePlex before we started Day 2 of #Picademy USA.  Upon arriving at the Computer History Museum,  we were once again greeted with warm smiles, coffee, fruit, pastries, and a packed agenda.   First on the agenda — INSPIRATION  from PI Innovators and brainstorming about how to use the resources provided by the Computer History Museum. 


I’m not sure how to describe the intense emotions I felt listening to high school senior,  Sonia,  describe the impact she has already had on the world using a Raspberry Pi in  her global reach project -- Pia La Code.  Her face to face and virtual approach to  teach coding to children in India won my heart.  I was so so proud of her as a young student,  as a young woman, as a young innovator.  It touched the part of me that is so hopeful about our future because it is in good hands if we fill it with with people like Sonia at the helm.  I wanted every high school student to listen to her share her story and to be challenged the way she was to change the world!  


Sonia’s story reinforces the formula  I have learned during the past 15 years through TechSavvyGirls for getting girls involved with tech (Combine high tech (like coding) with design and social justice (and mentoring) and you have a winning formulas for increasing the number of girls who engage with technology. 


Next we heard advice from   David Saunders about how to take what we learned this weekend and create a change in our schools.  The systems that are entrenched in our schools often feel like un unpenetrable barriers for innovative and creative teachers who want to make changes.  @DesignSaunders’s story of turning his library into a LABRARY  not only provided us with one way to bring more innovation into our schools, but inspired us to  find OUR way to penetrate the barriers and create the change we envision.  He inspired us to look for the points of entry that will lead to one small break in the system, and then keep on chipping away making more and more changes. 


Last but not least,  Mark from Piper took the stage and shared their journey for building PIPER.  The concept of using physical computing to build in Minecraft had so intrigued me when I learned about  Piper that I threw enough money at their Kickstarter to have a new unbuilt Piper kit in my possession.   Even though the description of the Piper was not new to me, the concept that Piper had been conceived and designed by these two young  college students majoring in biology  was not only new, but fascinating. I would have guessed that Piper would have been invented by a student of Seymour Papert.  Papert would have been been proud and certainly cheering  them on.


A predecssor to the iPad as a kitchen computer, only a bit larger.
I would have loved to talk to Mark about a few issues with my Piper, but we were whizzed off to the Computer History Museum to take part  in brainstormingconversation about using the Computer History Museum resources in our teaching.  At first I thought it would be another tour,  but this time we were invited to consider how specific exhibits might lead to  curriculum opportunities and conversations in many different curricular areas.  This prompt along with the stories that were shared had me looking at the exhibits from a different vantage point.  This time I was walking around with my teacher hat on and two different themes jumped out for me. 

How many lines of code did Margaret write?
1)  The opportunity to engage women in tech.
I pride myself in knowing quite a bit about  women and technology, but I had no idea that the Apollo Space Mission might have been derailed had it not been for Margaret Hamilton's contribution and the foresight to keep playing the code in her mind… playing out the landing and spotting an error that would have otherwise gone unnoticed.  Every student needs to hear this story— male or female!  Not only does the storyline have the power to draw in young women, but it also drives home the point of “No… you’re not done— yet”!.  Yes, some innovation evolves from solving a problem that arouses suddenly— but equally important is for us to keep looking forward and to implement systems thinking in our approaches. 

2)  The other theme that emerged for me from listening to the stories with my teacher hat on was the power of the technology  to be the storyline for Next Generation Science Standards implementation.   I recently did a workshop that helped teachers understand the potential of using technology to support Next Generation Science Standards around these 4 approaches:

  • How can technology help drive the conversation to support 3D Learning? 
  • How can technology support making connections with Cross Cutting Concepts?
  • How can technology support the Science Practices?
  • Why use technology as a storyline in 3D Learning? 


At the time,  my workshop offered just a few examples of each of these  —but during our second tour I suddenly saw the  Computer History Museum as filled with opportunity to create story lines to support NGSS standards and for teachers to use the museum resources.  Unfortunately  I don’t think that most teachers are aware of the stories they might use and how they might connect to the NGSS,  so it might take further collaboration  between the museum and a few science teachers who are also intrigued with computer history to create some topics aligned to the stories and specific exhibits. … but that’s a conversation for another time.


After the museum tour/conversation, came the moment some of us were both excited and anxious about — PROJECT TIME!  


Our host had done a brilliant job grouping our previous day’s brainstorming session ideas into some possible project themes and assigning themes  and mentors to each room.  Then they did something remarkable… they provided a few instructions and  LET GO --trusting that we would self-organize into project teams that worked for us.  It felt so organic and the results were magnificent — leaving us with a powerful pedagogical message — Create a purposeful instructional design and trust it to play out! 

I imagine this played out differently for each of us.. but here is how it played out for me. 

I had come to Pi Academy with several questions, one of which was — how could I use the Pi to support my advocacy for getting more girls involved with tech. I knew  from my Girls Make IT days and TechSavvy Girls camps that wearables provided entry points for some girls to learn to code. And even though I really don’t LIKE to wear hats  — I discovered that hats could be used to provide  micro-messages about girls and tech or to start conversations about the topic.  I’ll leave the conversation about micro-messages for another day, but I was definitely asking myself if the Raspberry Pi could play a role in my equity work.    At one point on Day 1, Alex and I discovered that we both had interest in wearables and had started sharing our projects and  discussing ways we could  explore our mutual interest on project day.


When we were released for project time,  I somehow stumbled across Julie, Amy, and Dan who were discussing wearables;  I let them know that Alex and I were also interested in wearables and we quickly became a group of 5.  


We found ourselves starting to follow the principles of design thinking… First with a general sharing of interest and ideas.  Julie and Amy had become intrigued with the concept of a friendship bracelet.  I had latched on with one of the sticky notes on wearables suggesting their use with autistic children.   Being the grandma of an  autistic toddler  who came up missing from daycare because of the predisposition of autistic children to quietly wander away to explore, I could see the bracelet having multiple purposes.


We then went into brainstorming modes for many different uses and features of a wearable bracelet.

 Eventually we took stock of the ways the raspberry pi tools that we had access to might be used to create some of the features we had brainstormed. 


We grouped like features together and went into an ideation phase.


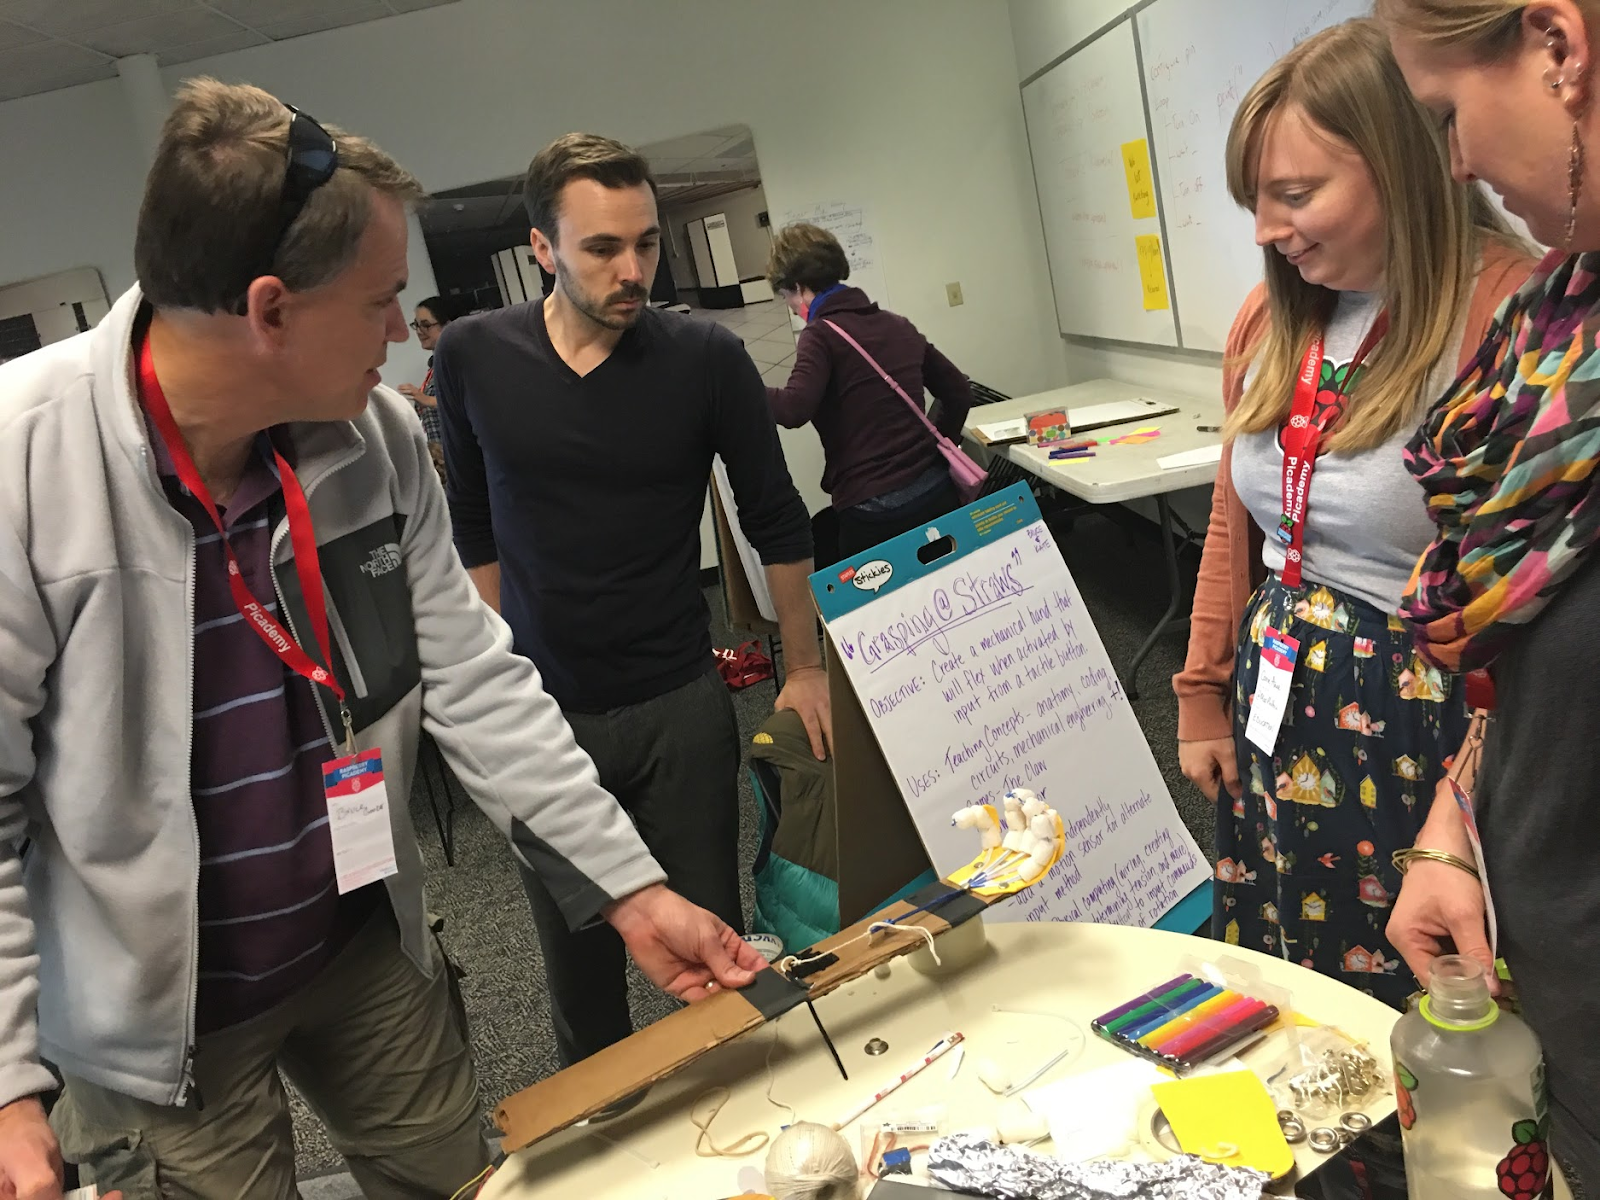
We narrowed down our ideas, took inventory of our skills and resources,  and moved forward ready to prototype our  sensor bracelet.   While in the early phases of our prototype, we decided  to create a proof of concept on a badge instead of a bracelet (so that we could use the tools available to us - the raspberry pi and the sensor hat).


One of the resources that influenced the project design was the skill level of  one of our members (David)  with creating web servers in Linux.  As much as I would have loved to learn how to install Apache and PHP on a Raspberry Pi, I realized that 4 of us watching David was not going to be very efficient, nor would it meet my need to contribute ‘something’  to this project.  So I suggested that some of us might want to  figure out how to get the Sense Hat to display text and how to read data sent from the joystick to send message responses.


Alex and I broke away to work on this part together, while Juli, Amy, and David worked on the the webserver and sending data via a form.


As our allotted project time came near the end,  we quickly pieced together what we had into a  proof of concept prototype, whipped up a physical artifact, and diagrammed the flow of communication. I love watching the part of a project where everyone grabs a part to get the whole team over the finish line.


Presenting the Silent Student Messenger Necklace


Physical prototype of a student messenger necklace


 diagram of our project communication workflow


After breaking out of our state of flow,  we now had a chance to see the  amazing result of unleashing 40 educators to create, make, and code using a #RaspberryPI.  


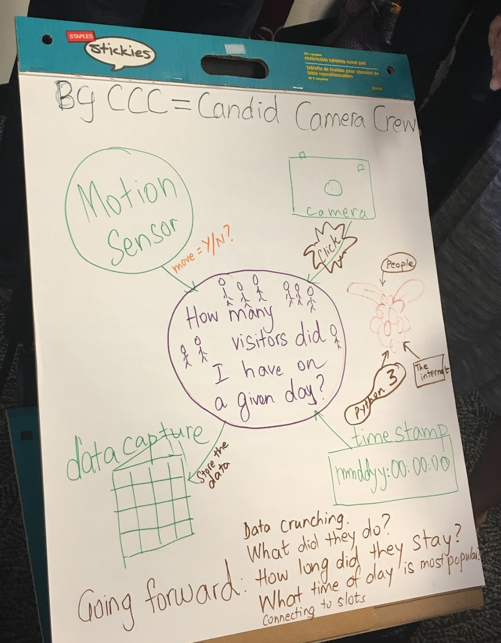
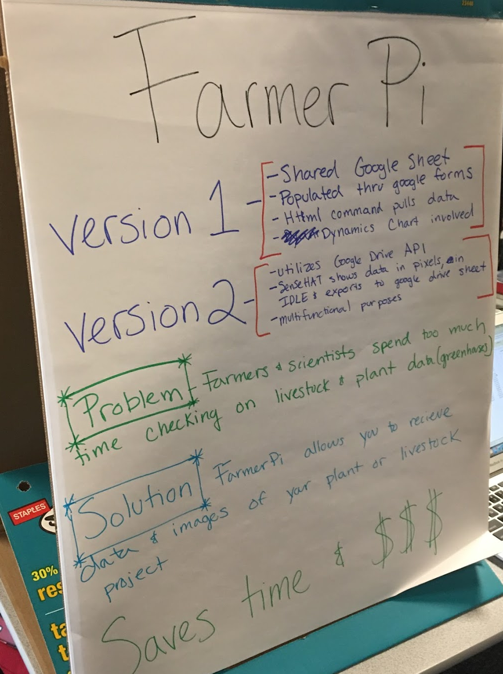
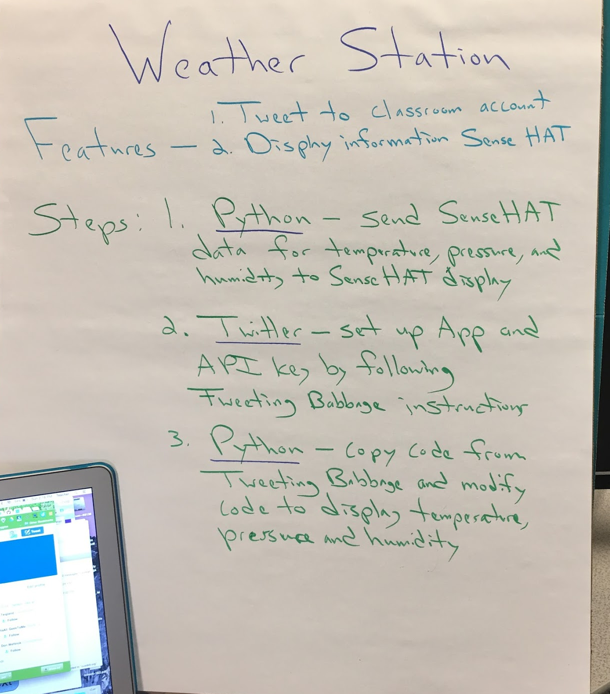
The ideas and projects varied from weather stations to Pi-ddington bear who could tweet your picture to theme based photo booths and more.  Here are just a few.


Before you knew it.. .it was time to embark on our next voyage... the journey home!


The #picademy team sent us off with new stripes-- our Raspberry Pi Certified Educator badge!


THANK YOU to our host for this marvelous two days -- The Computer History Museum and the Raspberry Pi Foundation.  You are sending us home with new skills,  new friends, and  new visions of what learning can/should be like!


I totally encourage anyone to  apply for the next Raspberry Picademy USA -
Applications are open now!