Wednesday, March 02, 2016

Picademy USA Part 1

This is Part 1   of a blog post series from the first #Picademy USA in MountainView this past weekend - including this Video Summary.

You can also check out  Part 2  and Part 3 


How fortunate I was to get a chance to spend the last two days with about 40+  passionate, creative, smart, inspiring educators who are committed to their students all drinking from a firehose at the first Picademy USA in Mountain View, California.   When I first learned about Picademy, I looked into flights to England and almost coughed up the money for airfare a few times, until….. I heard they were planning one for the US.  I was so excited, but  not nearly as excited as I would be the day I learned that I  had been accepted to Picademy.   Sure I was excited to learn more about the Raspberry Pi — but mostly I was excited because I knew that I would meet the most awesome educators and learn so much from them!  I was NOT disappointed!    

I hitched a ride  from the airport with one of the other participants, Shane, who so graciously chauffeured Steve, myself and  a few others  around for the next two days-- Thank You -Shane!  We grabbed some lunch, and drove  around  MountainView and neighboring towns such as Palo Alto and Stanford - before checking into our hotels— then whizzed off to the Computer History Museum to meet our hosts and fellow participants. 


Our hosts (The PiAcademy Team and the Computer History Museum Team) were not only super smart, but they were also super nice and super cool!  Our Friday night meet and greet at the Museum not only allowed us to meet our hosts and each other,  it also gave us a chance to be inspired by inspiring Pi enthusiast from the community.  


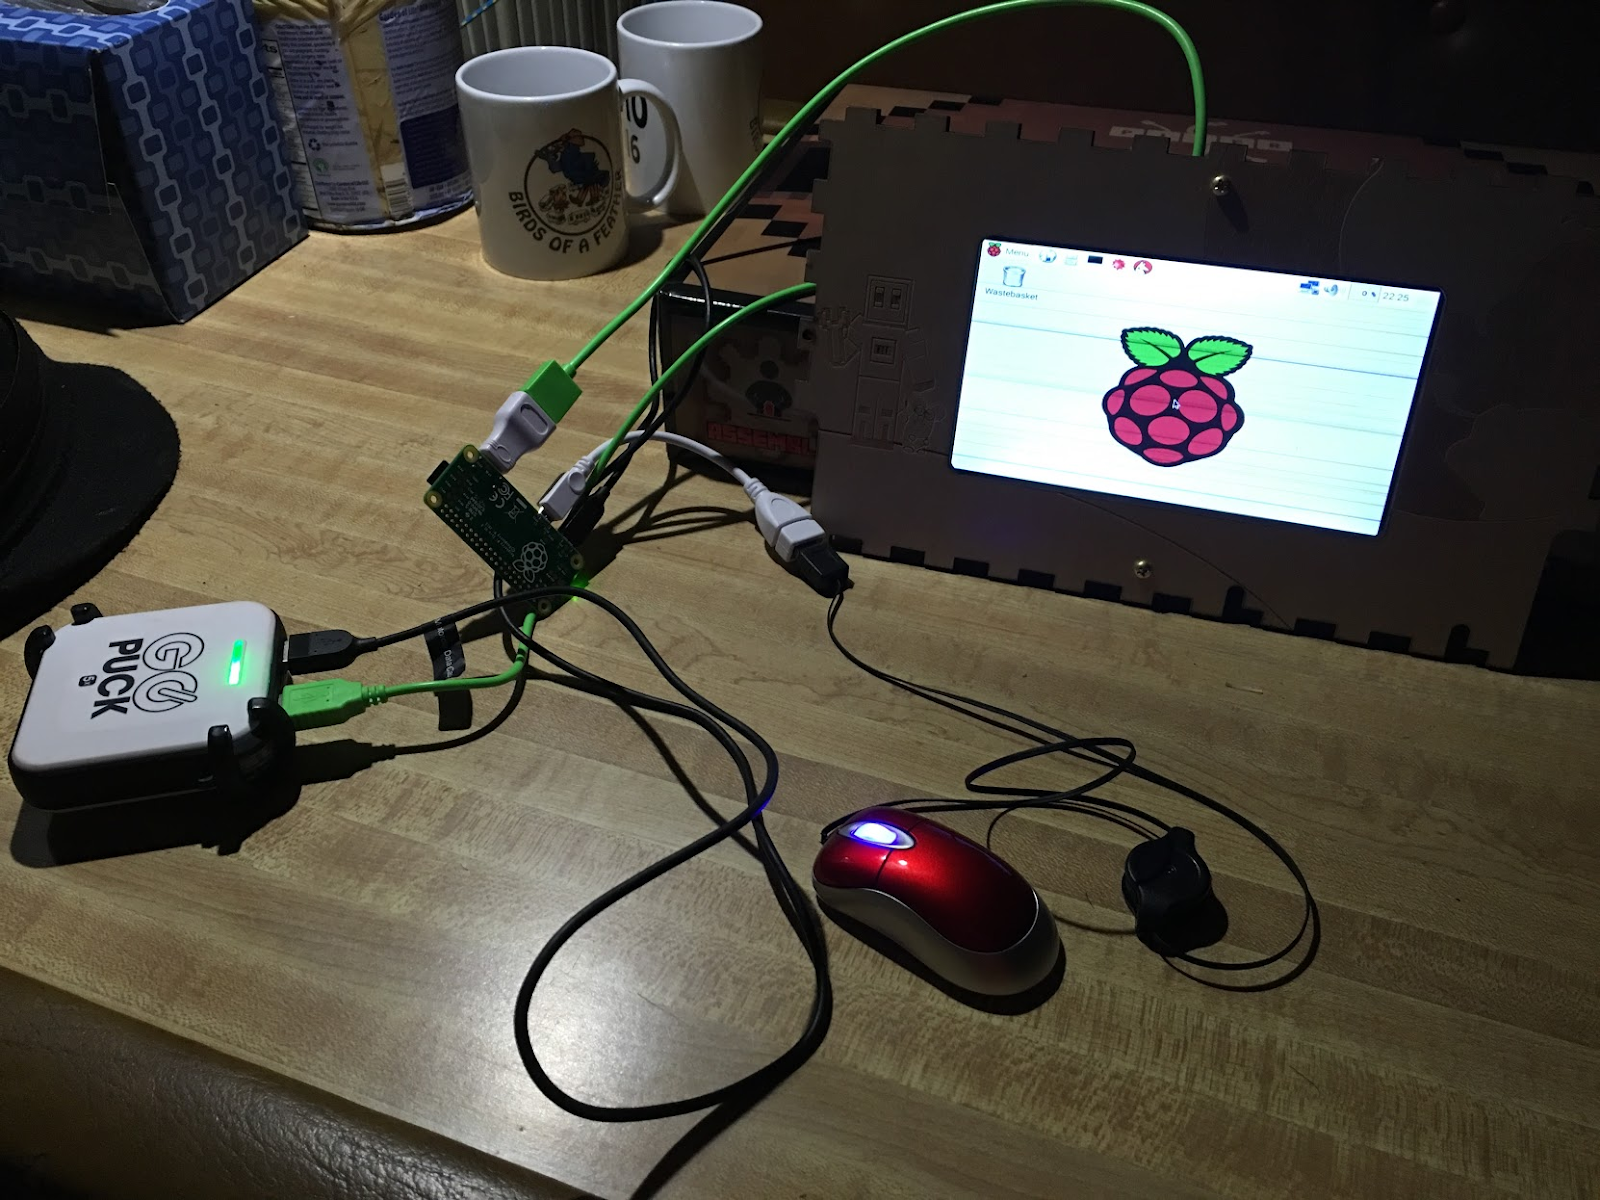
I said Hi to the folks from TechShop got to  ask the cofounder of Piper for tips on how to get the monitor that came with my Piper to work with my Pi Zero...


 and watched a local maker demonstrate how he used InkScape to draw designs that were printed on golf balls using SPHEREBOT.....


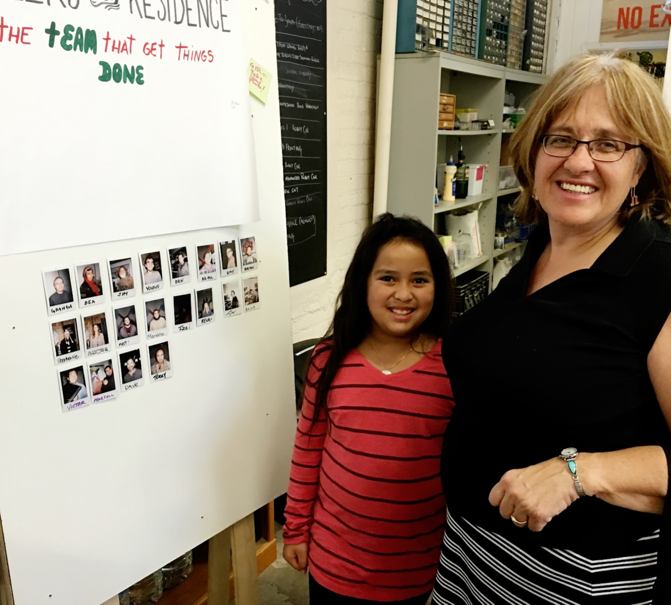
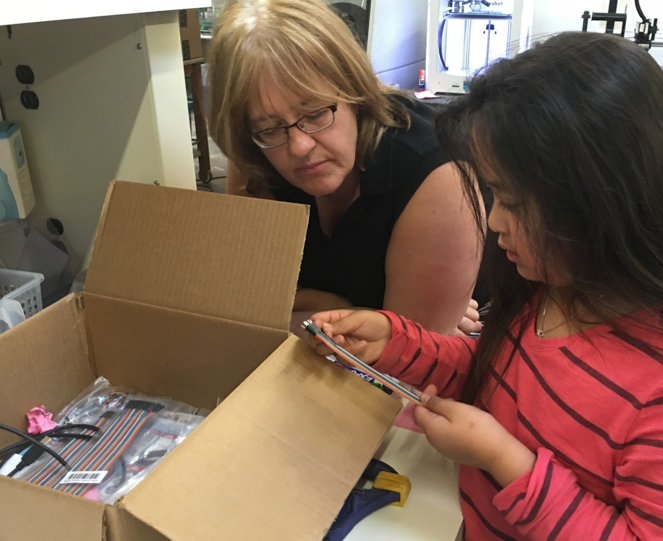
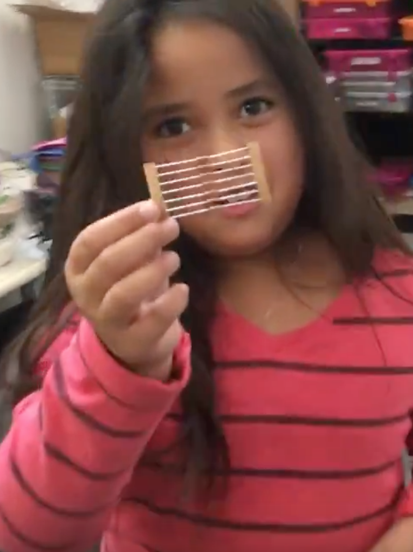
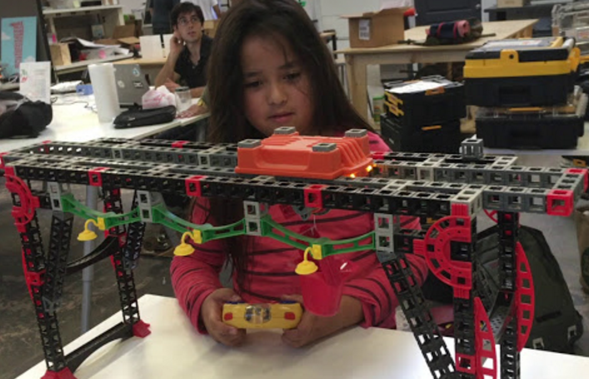
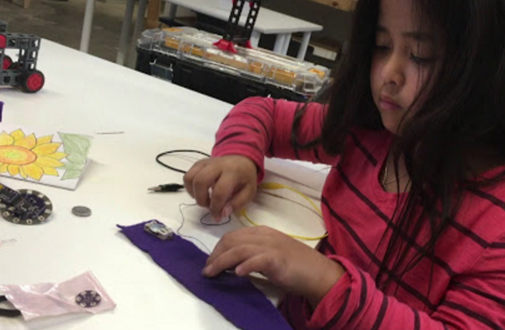
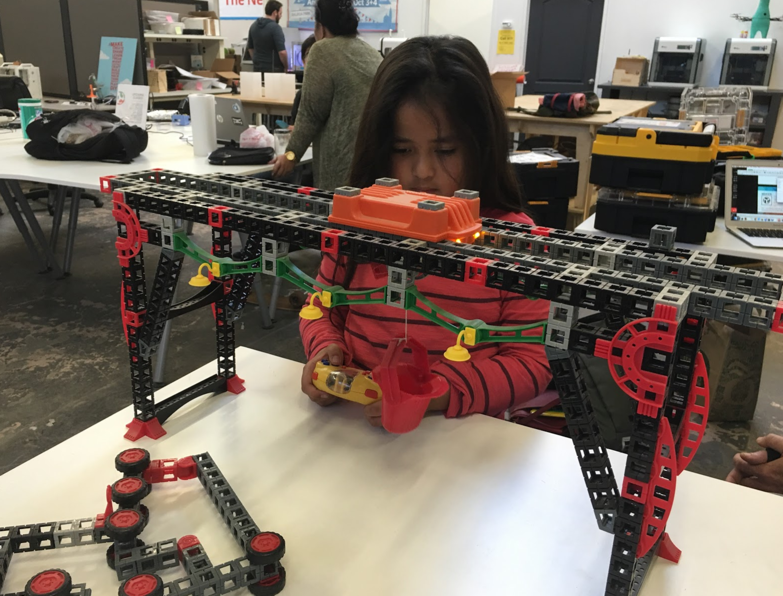
and checked out some fun Pi projects created by a mother and daughter team...


  and then got blown away by a 12 year old PI genius!   I couldn’t begin to do justice to Armand’s invention  using the Pi to provide textual help for the visually impaired..so I asked him if he’d be willing to tell you himself!


The Computer History Museum had on deck some of its best docents to  give us a tour of the museum.  I didn’t expect to like it as much as I did.  It made me want to go back and explore further.   Kim, our docent, was a master storyteller and made the legacy hardware come alive. 


As we exited the museum, Food Trucks lined the courtyard near the museum and offered a wide variety of choices for dinner before we headed back to our hotels to rest up for the next day's learning.


Picademy Day 1

Saturday (our first ‘official’  day of Picademy)  started with brightly colored goodie bags that brought a smile to everyone's face followed by an official welcome from the team.


We learned more about the Raspberry Pi Foundation from Phillip  Colligan, CEO and were inspired by Carrie Anne’s call to action message  around the importance of computer science in the learning landscape of every child.


After a quick unplugged coding activity, the rest of the day  continued  filled with workshops that were the perfect length. Each member of the Picademy Team demoed a different feature of the Raspberry Pi, while modeling the pedagogical practices so each of us could experience what the role of a learner (the way learning should be).  It was just enough to get us understanding one  of the the Pi’s superpowers and start us imagining the possibilities, leaving us motivated to go learn more.


The sessions included...

1) Overview of the Pi, Intro to Physical Computing by coding a a blinking LED and Button Switch using both Scratch (visual computing) and Python (TextBased Language) 


 2) An introduction to Astro Pi  and Interactive Art using the Sensor Hat. 

 I had heard about Pi Hats, but this was my first time using one — and what a powerful one.  Within minutes we were all shaking our Raspberry Pis to trigger an animation that we had coded using  Python


3)  Building in Minecraft using Python.  

As much as I try, I find that I’m not very 3D spatial, and this session reinforced that once more for me — but it really drove home the  point that coding a building is much faster than building one once you are trained to think computationally.  With so many students masterful Minecraft builders, what a fabulous way to personalize learning and connect to prior knowledge. 


4) Coding the PiCamera — who knew coding a camera could be so fun!  In a world where selfies abound, this session proved to be very popular.


5) Using the Explorer Hat to add Motion and Capacitive Touch with the Raspberry Pi. This session included a design challenge that had my teammates and I turning Babbage Bear into a hockey player who finally scored (after many iterations).  Many of us were not able to get the capacitive touch pads to work, so I'm not giving up on Makey Makey just yet.


We then gathered together  as a whole group again for  an overview of different scenarios for managing Pis into your school ranging from shared Pis using VNC to networking them using PiNET.


Finally it was time to switch gears and let our Imaginations run wild with ideas for a digital make!
With categories as a starter for our brainstorming sessions,  the sticky notes filled with ideas started to fly onto the whiteboard.  … leaving us pondering which of those ideas we might want to spend some significant time with tomorrow.   We walked out our first day with ideas percolating  and ready for find some dinner! 


Next Post... (more learning into the evening starting with a visit to Sam Patterson's Maker classroom.


Sunday, February 14, 2016

Making with Izzi at the San Diego Fab Lab


So impressed with Izzi I had to cross post this this blog, too.


As we travel, Craig and I like to visit and blog about creative spaces and convergences.  While in San Diego we got to visit two different maker spaces - The Fab Lab San Diego and MakerPlace.

During our  first visit  to the Fab Lab,  I noted four female makers on the poster board that featured their Resident Maker Experts -- one seemed a little younger than the rest.


Yesterday  I got to meet this most amazing young maker at the San Diego Fab Lab - 8 year old Isabelle (also known as IZZI).   When I met her, I could see why she was part of the Team That Gets Things Done at the Fab Lab.  

Izzi knows her way around a maker space! As you can see in this video, Izzi is totally at home with the space, the tools, and supplies.  


When I asked her to show me what she likes to make, she darted towards a back room, stopping  by a box of jumpers, and told me that she was learning to code and then identified a numerical value for each color jumper.

I was immediately curious to know more because, I had never heard anyone assign a numerical value to jumpers before.  But then Izzi proceeded to pull out a set of resistors calculating the value of the resistors by the color bands and then explained that one of her fellow resident makers used the colors on the jumpers to ‘drill her’ about these values. That is totally brilliant!  Izzi has some smart mentors who understand both making and learning!


Izzi quickly moved on to what CLEARLY was one of her favorite rooms filled with black and yellow crates that contained lockable plastic pieces, wheels, gears, pulleys, and a remote.  She pulled down a bridge from a high shelf,  rummaged through the drawers until she found a remote and then became entranced with the structure and its moving parts.  It was obvious that the world of mechanical engineering was one that fascinated her.  


Although I’ve seen a lot of different STEM products, I had yet to encounter the Rokenbok STEM kits and what better way to learn about them than through Izzi’s eyes. This reinforced my beliefs that STEM does not have to be pink or girly  to engage girls, but it does need to have a variety of entry points. The Rokenbok STEM kits quickly went on my list of  products with low threshold, high ceilings, and wide walls which I feel are  key to engaging a more diverse population of tech-savvy creators, makers, innovators, inventors and problem solvers.


When I  learned that another area that fascinated Izzi at the FabLab was the sewing area. filled with different types of sewing machines for various types of maker projects, I shared with her my interest in using Arduino in eTextile projects and showed her my latest hat project -- a black hat designed to show off an Arduino Bean that controls blue and white LEDs sewed into embroidered snowflakes. She was particularly fascinated with the fact that the project included a sensor that triggered a buzzer to play Star Wars music and started dancing to set off the accelerometer.


I asked her if she’d like to do some making together with some of my supplies.  We broke out some sewable LEDs, a sewable battery holder, conductive thread and quickly created a felt bracelet.   Her  comfort with circuits and ability to problem solve shined as she dashed across the room to find a multimeter when our LEDs failed to light on the first try.  


True confession:  My comfort with a multimeter pales compared to Izzi’s.   But her confidence with the tool inspired me to use mine more often until it becomes as second nature as it was for Izzi.  After learning that she had given the mayor of San Diego a soldering lessons, I was tempted to ask her for pointers.    But alas it was time to go and I wanted to leave Izzi with some supplies that would help her move our project to the next steps.   


I pulled out a  LilyPad Twinkle, some conductive thread and  some more sewable LEDs to leave with Izzi so  that she could  experience the way microprocessors  can be used  in her next sewing project. Then I showed her how I was using a more powerful microprocessor called the LilyPad Arduino to control some multi-colored neopixels on a unicorn headband project I was working on.


I would so love to come back and show Izzi to code a future Arduino project.  But my guess, is that Izzi is not going to need me to learn to code.  Izzi is fortunate enough to be surrounded with fabulous mentors from the FAB LAB who have taken her under their wing -- including her mom (Joy) who serves as  Community Relations Manager for the FabLab - San Diego.


The joy I was feeling while hanging out and making with Izzi was slightly dampened when hearing that Izzi school environment doesn’t seem to provide the opportunities for Izzi’s passion to shine.  The strong confident voice I heard from this young lady is not part of the Izzi you might see at school.

It’s sad that more kids don’t get to bloom the way Izzi obviously has by being surrounded in a rich environment for learning like the FabLab.   

It’s sad that students with passions for creating and making often don’t find a place to use that passion as part of everyday learning.  

Thankfully more schools are integrating more STEM/STEAM opportunities for students, and many educators I  work with are building their own maker spaces in their schools.

Thankfully more and more products like the Rokenbok STEM kits are being created with thoughtful attention to engaging a diverse group of students to “think like engineers gives them the skills and confidence to change the world.”

Thankfully many places like the FabLab are offering outreach opportunities to help our schools create tomorrow’s innovators.   

I can’t wait to see what path Izzi will follow as she continues to learn -- but something tells me engineering is somewhere in her future.


Sunday, February 07, 2016

Getting Started with Raspberry PiZero (Part 3) - Installing the OS using a Windows Computer

Installing OS using a Windows Computer.


This post will be a duplicate of my last post, EXCEPT that instead of using a MAC we are going to use a Windows based Machine.   If you have a MAC - go back to the last post, and skip this one. If you have a Windows computer, you’re in the right place.  


If you are following my  journey back into the world of Pi, you know that this short  series on the Pi Zero  is meant to document and reflect my process and point out the little things (both technical and not)  that might help the real newbie gain confidence as they grow their maker skills and develop a growth mindset using a Pi Zero


In my first post, I shared some backgrounds on my attempts to venture into the world of Pi.


In the second post, I tried to prepare you for  some of the chicken and egg scenarios that might derail you as you gear up to use your Pi Zero.  Basically there are two important steps to starting out
1) getting the operating system installed
2) getting a monitor or display up and running


You can't really do one without the other.  In the second post, I mostly talked about getting your monitor or display set up -  but you can't really do that until you have an Operating System running your Pi Zero.  So these first few post are really quite intertwined.   In my last post I shared how I installed the Operating system on a Mac,  while in this post , we are doing the same on a Windows machine.  In my next post, I plan to focus on some  troubleshooting I went through to deal with my display/monitor issues.


So let’s start with “What is an operating system and Why do you need one on your Raspberry Pi Zero.”


According to Webopedia ....


The operating system is the most important program that runs on acomputer. Every general-purpose computer must have an operating system to run other programs and applications. Operating systems perform basic tasks, such as recognizing input from the keyboard, sending output to the display screen, keeping track of files anddirectories on the disk, and controlling peripheral devices such asdisk drives and printers.  ...Webopedia

So basically your Pi Zero did not come with its most important program - the Operating System-- which basically means it can't do anything until you figure out how to install an operating system for your Pi Zero.


If you purchased your Pi Zero as part of a kit, there is a chance your kit included the operating system already installed on a microSD card.
If not, you’ll need two things to get started.


  1. A 8 gig micro SD card  and adapter  (about $5.00)
  2. An Internet enabled computer with an SD card slot


The recommended Operating System for the Pi Zero (at this time) is called Raspian Jessie.
You can find both Raspian Jessie and instructions for installing it on the Raspberry Pi download page.   The Windows direction in the installation guide provided there were pretty straightforward.  


When you unzip the file, open the unzipped Raspian folder and note that you now have an ‘image’ file ending with .img file.   
Now insert your MicroSD Card and Adapter into your Windows computer.
Note that my SD card is is my (D:) drive.  Yours might be assigned another letter.
It’s very important to note the CORRECT letter.


Download the Win32DiskImager utility from the Sourceforge Project page


When you unzip the file, you will now have a file  called Win32DiskImager-0.9.5-install.exe


If you are the administrator on your computer, Double Click on this file to Run.


Note: If you are not the logged in as an administrator, you may need to right click on the file and select run as administrator, typing in your administrator password when prompted.

Note: If you are not the logged in as an administrator, you may need to right click on the file and select run as administrator, typing in your administrator password when prompted.

You’ll get the usual series of prompts that ask you to hit NEXT several times until you get the final INSTALL  prompt to click on.


When the Win32 Disk Imager has installed you’ll get a README file (which you can just close)  and the following screen.   Click on FINISH!


You will now have Desktop Icon along with a Program on your computer called Win32 Disk Imager.  Click on either to run the Disk Imager.


When prompted, click in the Image Box and then Select the Raspbian Jessie  image file you downloaded and unzipped  earlier and press OPEN.


Then click on DEVICE Box  in the Disk Imager Program and make sure to Select the drive letter of the letter that matches the letter your computer assigned to our SD Card. Mine was D:  but yours might be different.


VERY IMPORTANT!  Be careful to select the correct drive; if you get the wrong one you can destroy your data on the computer's hard disk!


It’s very important to note the CORRECT letter.


Click Write and wait for the process to finish..


Eject the SD card  which now contains the Operating System (Raspian Jessie)!


Remove the MicroSD Card from the Adapter.

Congratulations!  You are ready to insert your microSD card with the new RASPIAN JESSIE operating system into your Pi Zero. Of course,  you’ll need to hook up power, a monitor or display option, a USB adapter and USB mouse.


Note that the order of operations matters when you connect everything!  

Turn on  your Monitor/Display first
THEN connect to POWER so that the Raspberry Pi can sense that a monitor is attached and figure out what resolution the monitor is set to.
(You might remember from my earlier post.. that this can be a bit tricky).


If all goes well  --- after a few minutes of WAIT time.. you will get a screen that looks like this.

Hopefully this is the case for you.  As I mentioned in my earlier post, post,  I experienced a chicken and egg dilemma trying to get my display to work and installing the OS.  You can’t do one without the other.  You can’t test whether your OS install went well without a display; but you can’t test if your display is compatible with your Pi Zero without the OS.


I’m assuming all is well and that you will not experience this dilemma.. unfortunately I did  and I’ll share how I resolved it in my next post.


Oh.. and just a reminder for those who might not have seen the first post… this series is meant to give less experienced users the CONFIDENCE they need to move forward with their Raspberry Pi Zero.   There are lots of great resources out there - but it’s so easy to miss a step if you are a new user and from experience I know that one misstep can cause you to lose confidence. Pictures to guide you can help give you confidence that you’re on the right track.  
But visuals can also throw you off if a version changes or your computer is slightly different; in that case look for similarities.  
Thanks for reading my  Raspberry Pi  series  where I try to point out areas that a new user might need to pay special attention to stay confident and to show my own errors as a way to model how  my Raspberry PI journey helped me develop my growth mindset and build my confidence as a maker / educator.